Your Cart is Empty
Guide to buying/planting aquatic plant tissue cultures


Introduction
Tissue culture plants are grown in a laboratory under sterile conditions; plant cells are propagated on a culture medium, producing exact copies of a plant without the need for seed production or pollination. It is particularly useful for producing large numbers of plants of species that are difficult to grow or propagate by other means. Plant tissue culture relies on the fact that many plant cells have the ability to regenerate a whole plant when placed in a suitable medium and environment. You can read more in detail about the process here.
Tissue culture aquatic plants have been on the market for some time now and their main advantages to the consumer are that they are free of pests and algae and are very good value for money - if grown successfully. Tissue culture trays come packed with small plantlets, each capable of growing into a full-sized plant, so you get a lot of plants for a low price; almost like buying a packet of seeds. However, these plantlets are more fragile than larger plants and many hobbyists fail with them for reasons we will explore below.
If a tissue culture cup comes without pictures, it can be quite difficult for beginners who are unfamiliar with aquatic plant names to tell what the full grown plant will look like. Many red plants can be green when grown in tissue culture, and some species will have different leaf shapes when fully grown.
 This cup of Rotala H'ra will grow into a lovely reddish stem plant (left below)


A single cup of tissue culture dwarf hair grass was enough to completely carpet this tank in 6 weeks. The plantlets grow and spread rapidly under the right growth conditions.
As the many plantlets seamlessly transition into submerged forms adapted to your tank environment, you are not left with the need to manage old emersed growth from a farm grown plant or growth from submerged forms adapted to someone else's tank.
Pros
- A lot of plants per tub, making it very economical.
- Pest and algae free.
- Species profile tend to be more standardized.
- Easier to transport/store for vendors.
Cons
- Less robust than large sized plants.
- Conversion rates dependent on aquarist skill.
- Newer aquarists may find it difficult to tell freshness of sample.
 For folks worried about pests and algae, or have difficultly finding quality larger sized plants, tissue culture can be a good choice.
How to choose tissue culture tubs
As the number of tissue-cultured aquatic plant species grows, so does the number of companies trying their hand at tissue culture. Sometimes the quality of a tissue culture can be quite obvious - for example, some brands will visibly have more plants per cup. However, the brand of tissue culture is not the only indicator of quality. Freshness is an important factor. Plants in tissue culture pots can last a long time (many weeks if refrigerated), but depending on where they were produced, the samples may have already had a long journey to the shop. If the plants are left on the shelf for too long, they tend to deteriorate and the chances of a smooth transition into the tank are reduced. Fresher, more robustly grown tissue culture plants will transition more easily after being planted in the aquarium.
Rather than simply going with the most familiar brand, hobbyists should also consider the quality of the tissue culture. A branded tissue culture product that has turned brown on the shelf because it has been sitting there for too long is far less likely to go smoothly into the tank than a fresh batch. Quality matters when choosing tissue culture!
Here are a few things to look for in a fresh cup of tissue culture:
A cup that has been sitting around too long:
- Gel media is very dark or brown.
- Brownish roots, root zone is over-crowded and packed with roots.
- Plants are yellowing - signs of yellow or brown spots on the culture.
- Obvious signs of old deteriorating leaves.
- White fungus/mold.
 Viewed from below, the gel media here has darkened considerably - some roots are blackened.
 White patches can indicate mold/fungus. Leaves are also turning brown.
 Uneven colouring, sparsely grown plants, discoloured gel media - these are all signs that this tissue culture dish has been sitting on the shelf for far too long. There may still be a hint of green on the leaves, but the chances of success are greatly diminished. Some super-hardy species can still be saved from such tissue culture cups, but in general, hobbyists should avoid tissue culture in this condition.
Signs that a tissue culture cup is relatively fresh:
- Gel media is pale white or transparent.
- White roots, root zone is not over crowded.
- Plant leaves are uniformly colored - green plants are uniformly green without any sign of leaves turning yellow.
- No old leaves are present in cup.
- No sign of fungus/mold in the cup.
 Gel media is whitish without discoloration.
 Leaves are uniformly green with no sign of yellowing.
 No substantial development of brownish roots, whitish media.
 Leaves are uniformly green with no yellowing, gel media has not browned.
Some practical examples:
 On the surface, the tissue culture cup looks kinda alright. Those with sharper eyes will spot a few browning leaves. The cup is also slightly over-crowded; which means that the plants have been sitting and growing on the shelf for awhile.
 The side view shows that the media has browned considerably and that the plants have been sitting for so long that additional shoots have grown on top of older plants. However, the plants look generally green.

Roots are not bright white but yellowish. The pot is starting to look overcrowded in the root area.
All indications are that this tissue culture tray has been sitting around for a while. It is not a fresh sample, but it is not too far gone either. In the hands of an experienced grower with excellent growth parameters in the tank, the success rate of acclimatising such a sample into the tank is high; you may lose the few samples with browning leaves. However, for people with less optimised setups, a fresher sample will give higher conversion rates. Success rates are also species dependent. This tissue culture cup contains Marsilea crenata, which is a very hardy plant - planting a less fresh sample still has good success rates. For more delicate species, you may want to look for the freshest sample possible.
 In this cup, the plants look very uniformly green, there is no sign of yellowing leaves at all. Some of the stems look to have grown slightly, hitting the top cap of the container.
 A peak at the bottom shows a mass of white roots. It looks as if the plants in this pot have had some time to grow in. Overall, the plants look very healthy. This tissue culture cup gets top marks for freshness, although it looks as if the plants in the cup have had some time to grow.
 At first glance, this cup seems alright - there are a few brownish leaves but most of the cup seems a fresh green.
 The bottom gel does not look brownish, however, you can spot some browning of the plant roots and leaves.
 The side view confirms that the browning is significant and may be affecting deeper layers in the cup. Although the cup does not look too old when viewed from below, the plants in this sample are not in good condition. Beware of cups that show green on the top, where new growth is still healthy, but contain mostly browning plants in the middle and bottom - in such a sample you could end up discarding up to 80% of the tissue culture cup.
 Which of these 4 Cups of Monte Carlo is in the best condition? If you have followed the guide so far, it should be obvious by now. The top left cup has yellowing, the top right and bottom left cups look a little overcrowded (note how the leaves fill the upper edges of the cup). The bottom right cup has the greenest, best formed leaves with no overcrowding.
 The side view shows more clearly the over-crowding of the top left, top right and bottom left tubs.
 The bottom view is consistent with what we see from the top and sides. The bottom right sample is the one in the best shape and colour. The others are more overcrowded, with the top left one showing obvious yellowing. In this example I would definitely avoid the top left tray; even if your tank has good growth parameters you will have more melting problems due to the quality of the tissue culture. I think the top right and bottom left are usable but not optimal. The bottom right tray has the best success rates.
How to acclimatise tissue culture plants to tank conditions
There are many poor examples of how to handle these plants on YouTube and other videos, as the aquarists who make them want to get the whole set-up done in a short time. Tissue culture in general (especially for exotic or fussy species) - works best in a cycled tank with a substrate that has time to mature. They should not be planted fresh on day 1 in a new setup. This factor alone is the reason why many aquarists have melting plants.

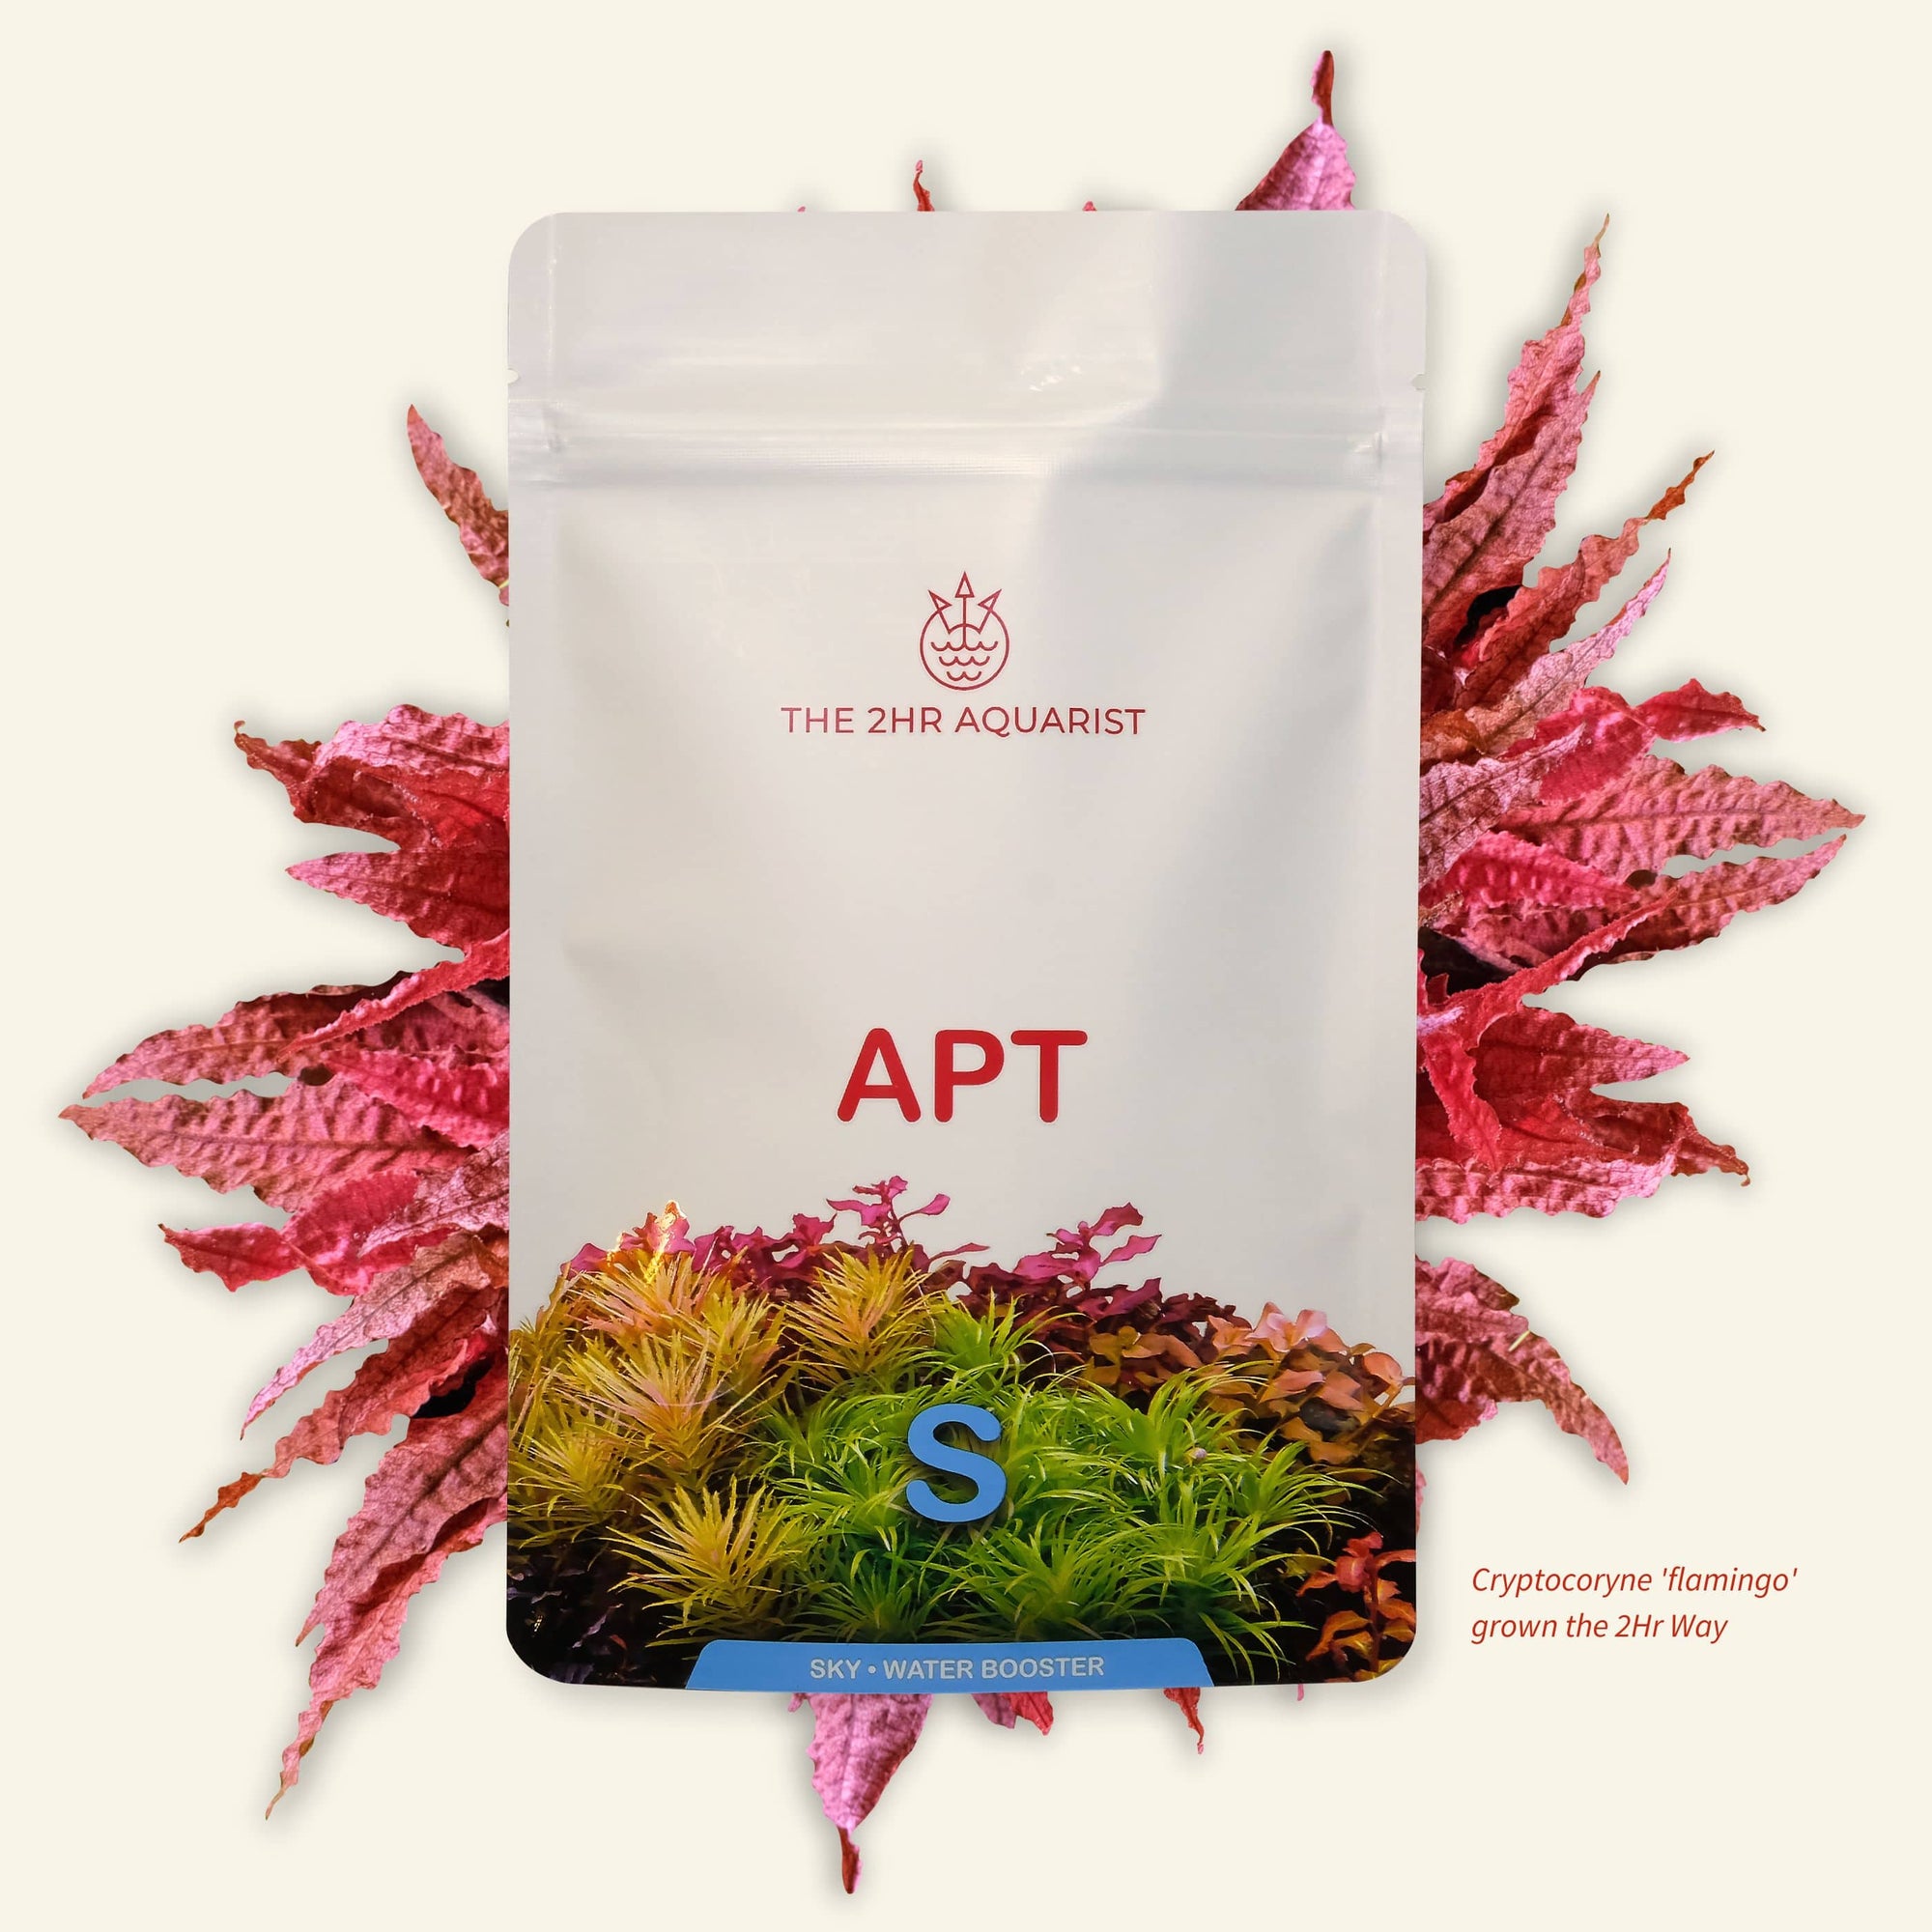
If you want to grow more exotic, fussy species such as Hygrophila sp. Chai from tissue culture, planting them in a mature, clean tank with low levels of organic waste will maximise success. A single cup of tissue culture Cryptocoryne flamingo can produce more than 15 plants - a real bargain if handled correctly.
After rinsing off the gel media, separating plants that have arrived in clumps into individual plantlets or smaller clumps (for carpet plants) will maximise success rates. Stem plants that are tangled in a common root mass should be carefully divided and planted individually or in very small clumps. Separating the plants into individual clumps gives each plant more space, airflow and light to grow.
Planting large, thumb-sized clumps of carpet plants looks good on video but is terrible in practice - larger clumps also tend to float at the slightest disturbance. For carpets, planting small pieces over a large area allows the small pieces to spread out - reducing the time it takes to carpet the area. The video below shows 6 days of growth from planting tissue culture plants.
CO2 and nutrient availability are also very important for plants to acclimatise well to tank conditions. Aim for at least a 1 pH drop when adjusting CO2. Liquid fertiliser should be added on the first day of planting. This is because newly planted plants have not yet developed their root system and cannot take up nutrients from the substrate. However, they can absorb nutrients directly from the water column through their leaves.
A summary of key success factors
- Tune your CO2 levels well - aim for at least a 1 pH drop.
- Start dosing liquid fertilizer on the day that the plants are planted; read more why here.
- Cycle your tank before hand.
- Maintain low organic waste levels at substrate zone.
- Separate plants into as small clumps as possible when planting.
- Do not squish the delicate plants when handling them - use forceceps.

Caution when buying exotic species
For some exotic species, some farms produce batches of underdeveloped tissue cultures that have a low (close to zero) success rate in the aquarium environment. Shops will not filter out such stock on their own; unfortunately this usually leaves the hobbyist in the lurch. Hobbyists should be particularly vigilant when buying tissue cultures of exotic species. In general, look for larger, well-developed plants. (Pictures will be added later if possible). The usual freshness markers mentioned earlier in this article still apply.

unlock your true potential
Grow anything, defeat algae, create amazing aquascapes